
Microsoft’s acquisition of Cloudyn will help Azure customers manage and optimize their cloud usage. Read more about the acquisition here. A message from Sharon Wagner, CEO of Cloudyn.
About Cloudyn
Azure Cost Management by Cloudyn empowers organizations to monitor cloud spend, drive organizational accountability, and optimize cloud efficiency so they can accelerate future cloud investments with confidence.
Microsoft’s acquisition of Cloudyn will help Azure customers and partners as they face the challenges of growing their multi-cloud environments. It will enable them to gain visibility, understand and optimize cloud consumption, as well as accurately project future usage.
Microsoft will continue to support multi-cloud environments, including Azure, AWS, and GCP. Azure Cost Management by Cloudyn is available for free to customers and partners managing Azure spend. Additional premium capabilities are available at no cost through June 2018, once they will become paid features.
Let us look into how to sign up to Cloudyn if you are an Azure customer
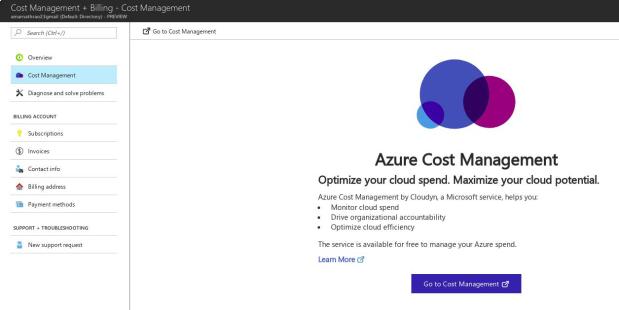
Step 1: Login to your Azure Subscription via the Azure portal. Select the “Cost Management + Billing” blade. Then select “Cost Management” from the options on the left-hand side of the pane.
Click on “Go to Cost Management”
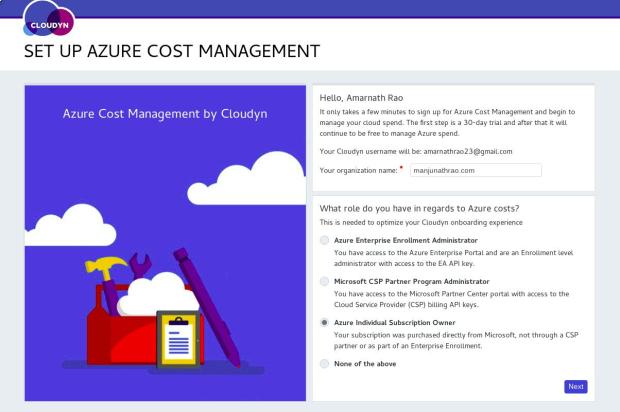
Step 2: Once you click the”Go to Cost Management” button, you will be redirected to Cloudlyn’s page to set up your Cost Management details.
Enter your organization name and the type of Azure access you have on your Azure account. I have a personal subscription, so I have chosen as “Azure Individual Subscription Owner.”
Step 3: Cloudlyn Account name and Tenant ID will be automatically populated. Now, select the offer-ID from the drop-down list.
If you do not know your Offer-ID, then go back to your Azure portal. Click on “Subscriptions,” that should provide you the type of subscription that you have.

Step 4: Click “Next”
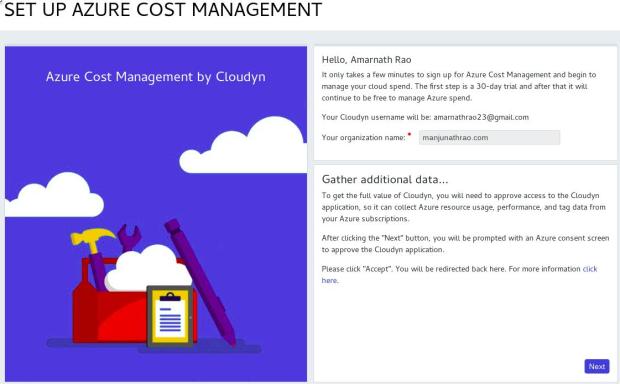
Step 5: Click “Next”
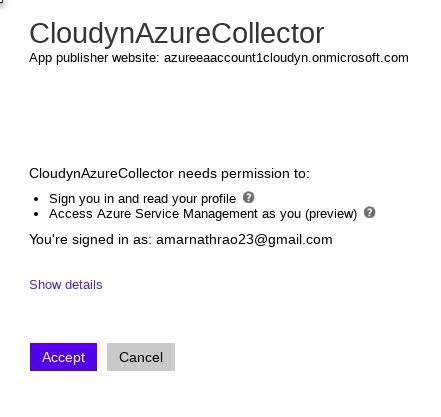
Step 6: We are done with the registration with Cloudlyn. Cloudlyn needs about 2 hours for collecting the data.


2 comments