
This document illustrates how we can create a VPN using the AMI – OpenVPN which is available in AWS MarketPlace.
Below shows the architecture that we would be able to achieve:
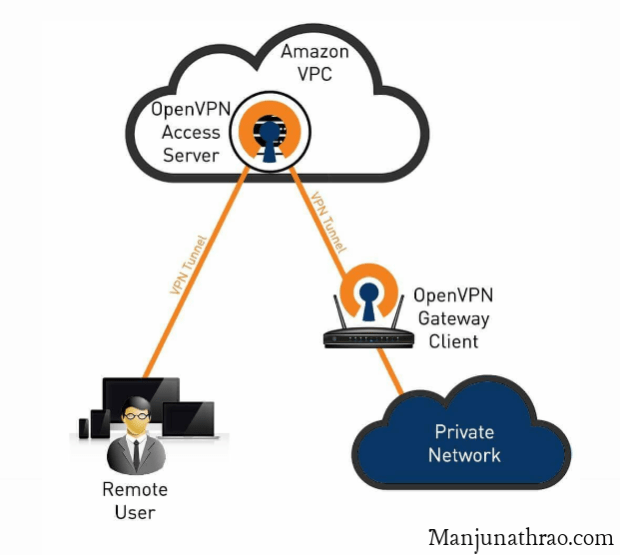
We will set up an AWS VPC where we will launch our servers. One of the servers will be launched using the OpenVPN AMI. The other servers will be on public and private subnets within the VPC.
Steps to Achieve are as below:
Step 1: Login into AWS Console and choose VPC.
Step 2: Select Service – VPC
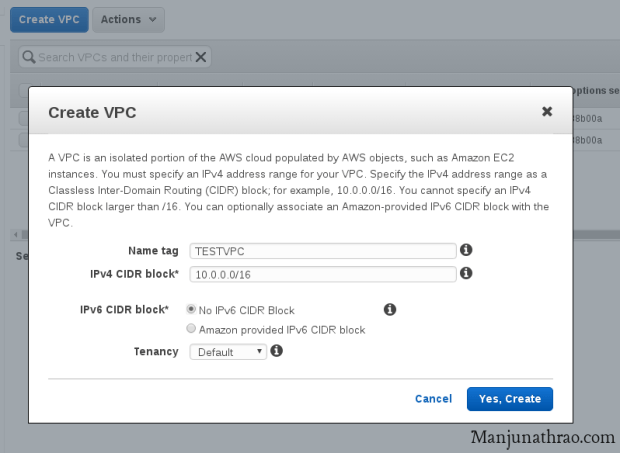
Step 3: Create a VPC. Provide the Name Tag and CIDR details. Also, create the subnet under this VPC.
Step 4: Now, Let us go back to EC2 Service and then come back to VPC Later.
Step 5: In EC2 Service, Launch an EC2 Server and go to AWS Marketplace and choose the OpenVPN AMI. You can assign an elastic IP if necessary

Step 6: Launch this instance with all the other necessary configuration. This AMI comes with default sec groups, keep them default and launch it. Note – This is not necessary to be launched in the VPC Created.
Step 7: Launch two more instance one with public IP and the other with private IP under the VPC created.
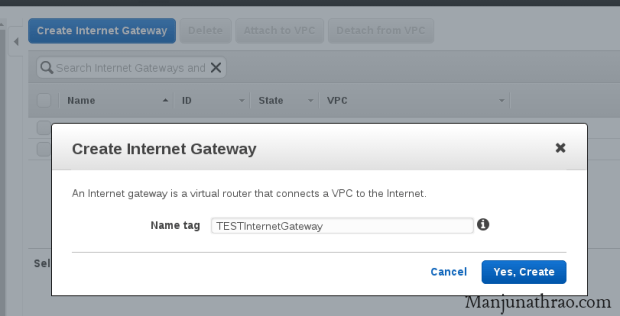
Step 8: Now let us go back to VPC. We will need to create Internet Gateway and RouteTable. Click on VPC in the console and go to Internet Gateway. Now click on Create Internet Gateway and provide a suitable Name tag. Attached this Gateway to the VPC we created earlier using the option “Attach to VPC”
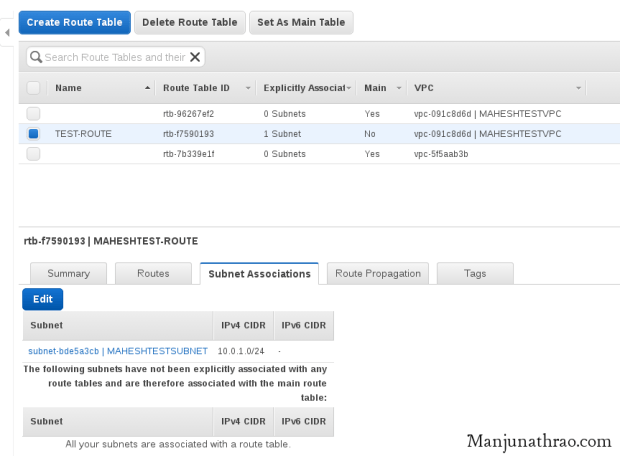
Step 9: Now, go to Route table and click on create route table. Update the Routes to have 0.0.0.0/0 (opens to the internet) and specify the IGW (internet gateway) which was created.

Step 10: Update the Subnet Association to the
Step 11: This completes the configuration on the AWS Services. Now we will need to configure the OpenVPN.
Step 12: SSH to the OpenVPN box using the username – openvpnas
Step 13: You will need to agree to the terms by typing “Yes”. Keep all the other setting default by just pushing the “Enter” button. By Default, the username will be “openvpn”. You will need to update the password using the command as per the below screenshot: sudo passwd openvpn.

Step 14: Now go to the browser and type the IP address of the OpenVPN box. Ex: https://ipaddress
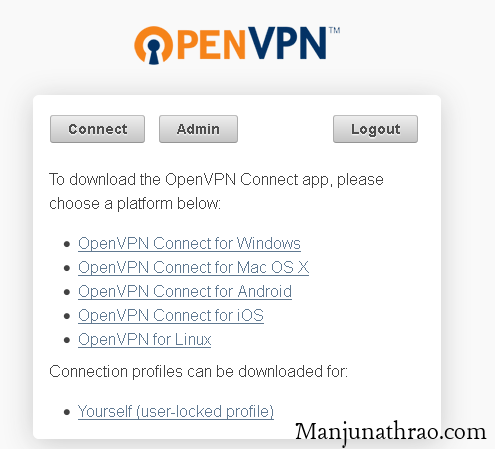
Step 15: Login in with the password updated earlier on the terminal.

Step 16: Download the OpenVPN client as per the operating system. Install the client.
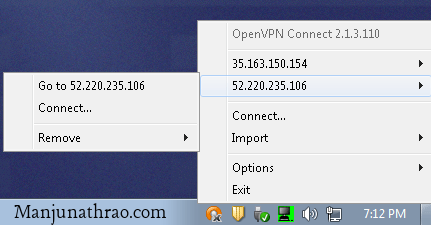
Step 17: Click on the icon and select the OpenVPN server and click on connect. Once connected you will be able to connect to the servers within the vpc.
Step 18: Now let us ping the Public IP and see the result.We were successful in pinging the Public Server under the VPC.

Step 19: Now let us disconnect the OpenVPN and try to connect to the private server.

Step 20: Now we see the ping requests are getting timed out. We are unable to reach the server using the private IP under the VPC.

Step 21: Let us connect the VPN using the OpenVPN and try to ping the same Private Server.

Looking for free PowerShell scripts? Check out my Powershell Contributions under Microsoft Technet Script Centre
